How to Make Cheese Pizza in a Cast Iron Pan
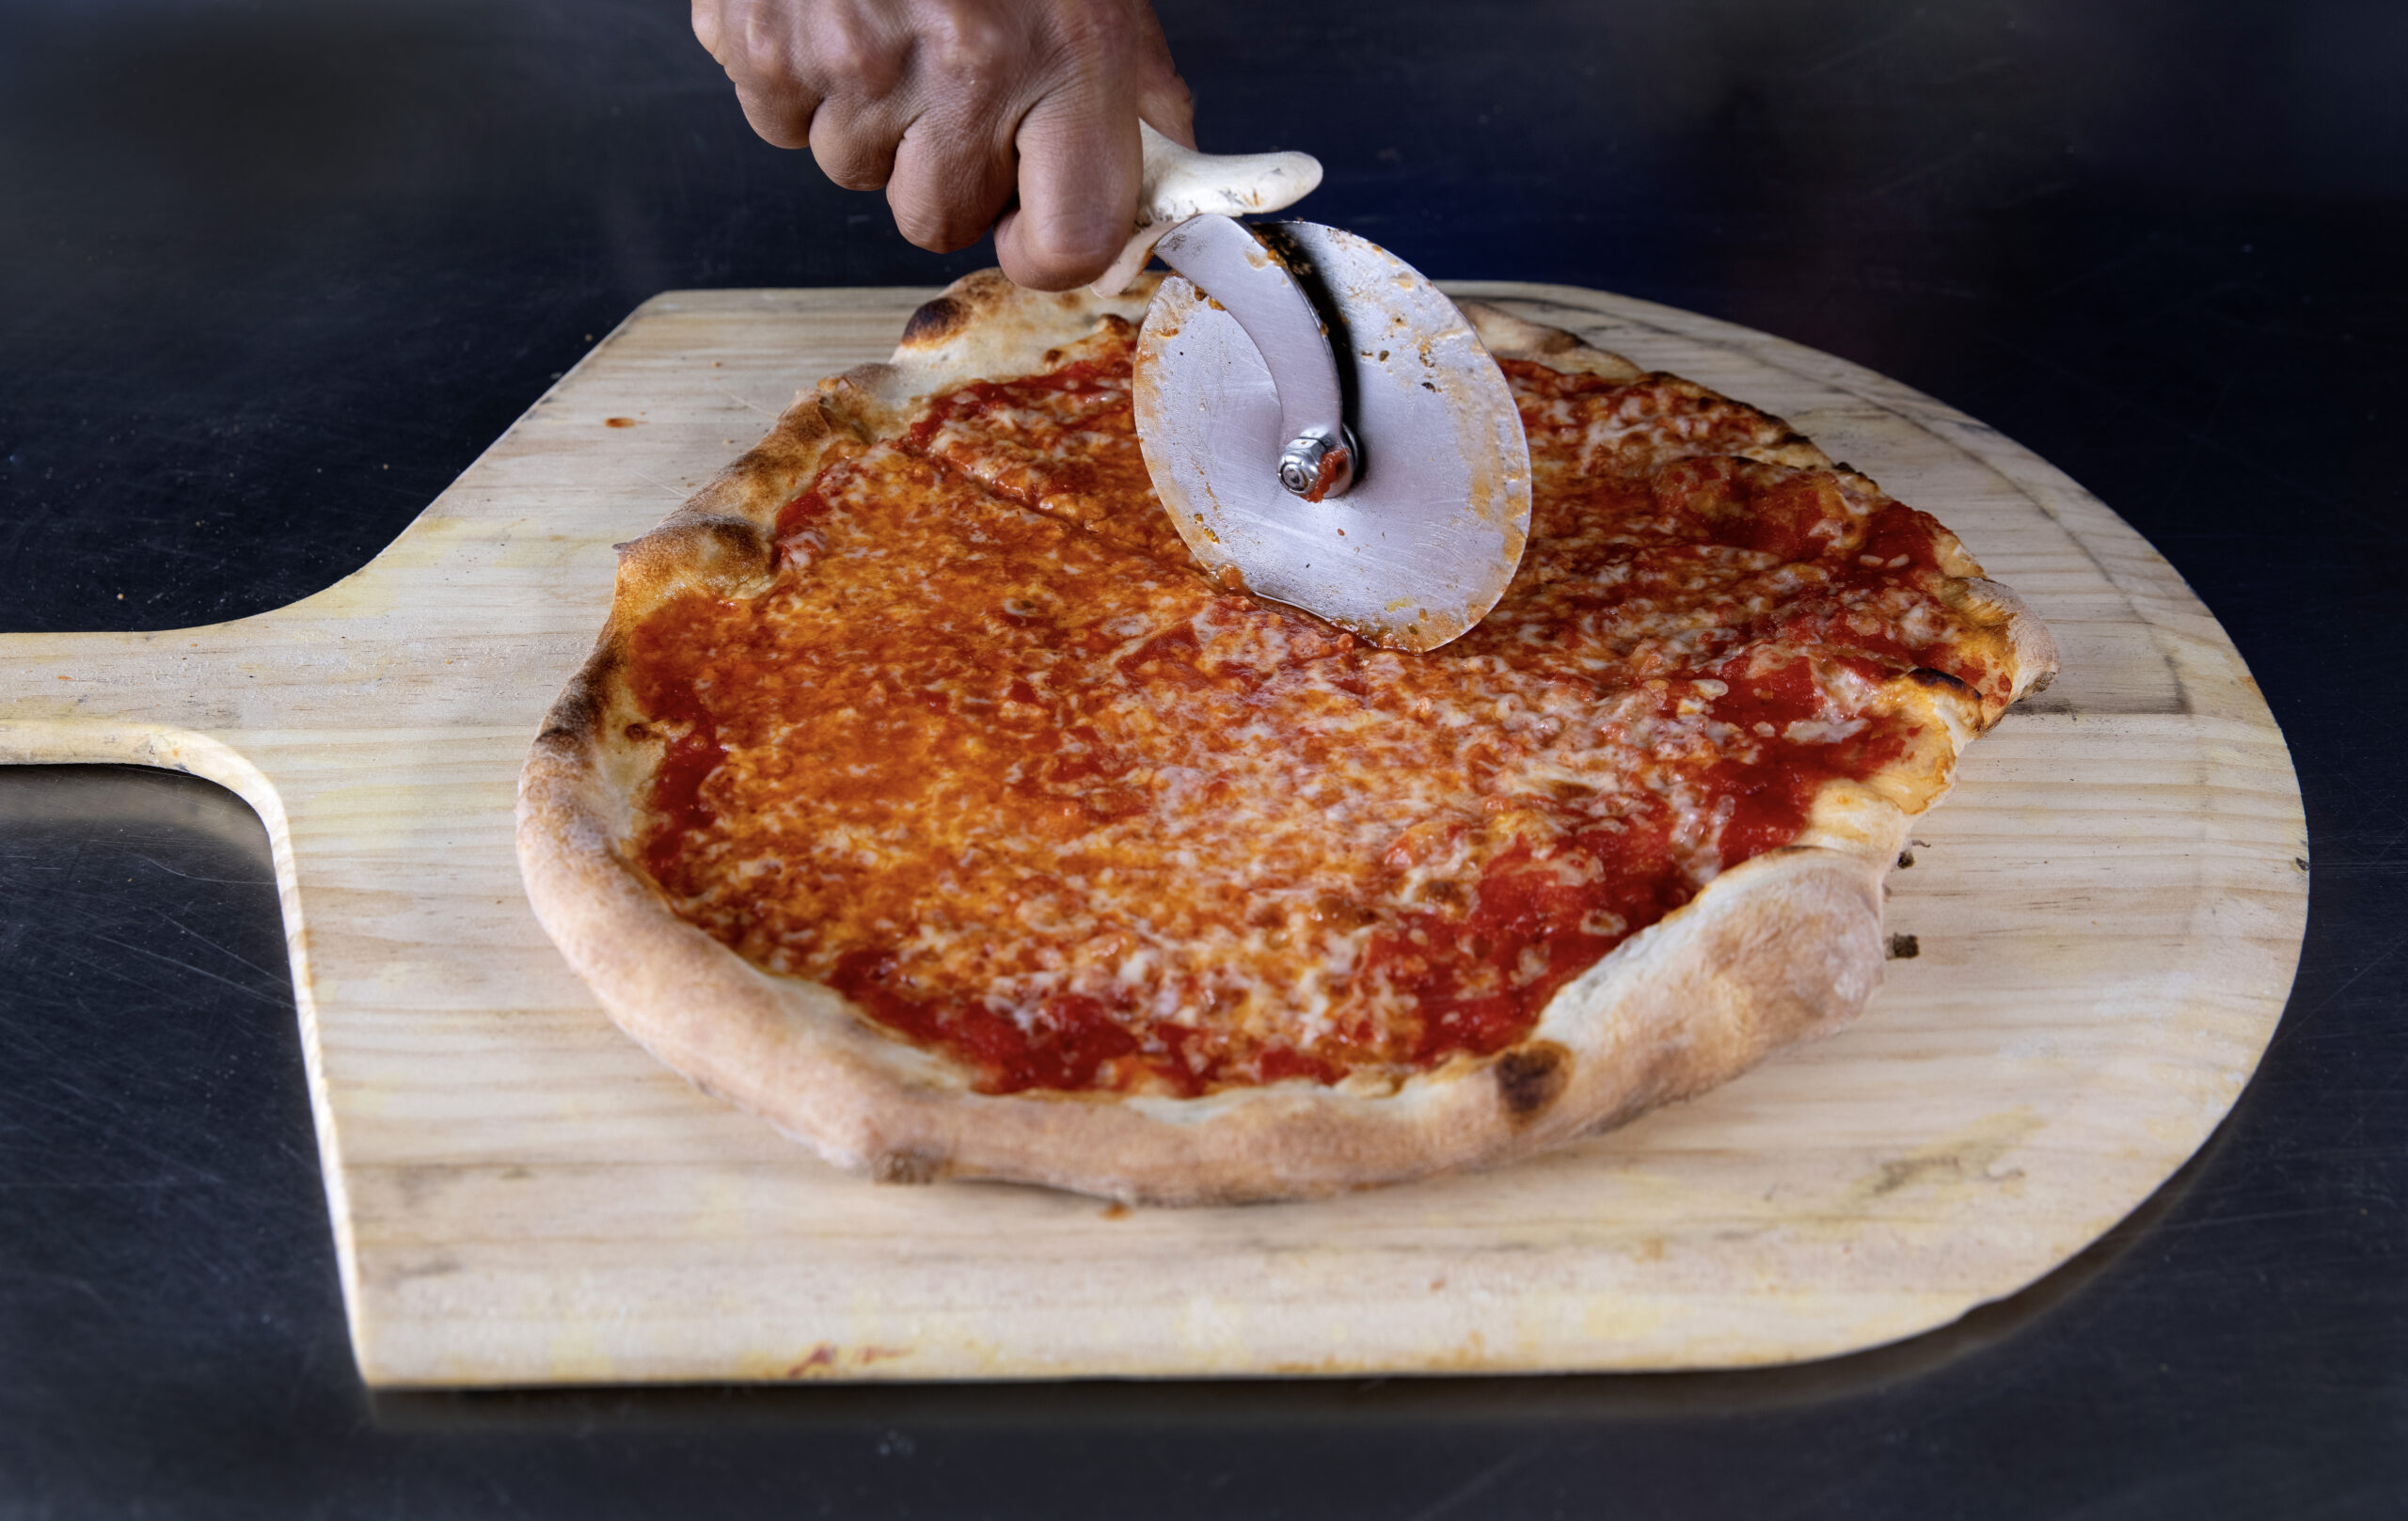
A cast iron pan turns homemade pizza into something deeply satisfying and unusually forgiving. You get the crisp, browned underside that is hard to achieve on a standard sheet pan, plus a tender interior and a rim that fries lightly where the olive oil meets the dough. For a simple Cheese Pizza, that combination matters. Without pepperoni, sausage, or a pile of vegetables to distract from flaws, every part of the pie has to carry its weight. The crust needs character. The sauce needs restraint. The cheese has to melt evenly and brown in spots without turning greasy.
That is why cast iron works so well. It stores heat, delivers strong bottom contact, and gives you a little more margin for error than a pizza stone when you are baking at home. I have made pan pizzas in heavy skillets in tiny apartment ovens, old gas ranges with hot spots, and well-calibrated electric ovens that still never quite reached their stated temperature. Cast iron performed reliably in all of them. It is one of the few methods that can produce a genuinely craveable cheese pizza without requiring specialty equipment or a backyard oven.
The method is not complicated, but it rewards attention. Small choices, how wet the dough is, how long you let it rise, how much sauce you spread, whether you preheat the pan, change the result in visible ways. A good pan pizza should have a crisp bottom, a light chew through the center, a browned edge, and enough structure to hold a slice without sagging. It should also taste like pizza, not like bread with marinara and cheese on top. That distinction comes from balance.
Why cast iron changes the game
Most home ovens struggle with pizza because they lose heat fast and do not radiate intense energy from above. A cast iron pan helps compensate for that weakness. Once heated, it transfers strong, steady heat directly into the dough. That gives the crust a running start before the sauce can soak in and before the cheese fully melts.
There is another advantage that often gets overlooked. The walls of the pan cradle the dough as it rises and bakes. Instead of spreading outward like a free-form round on a baking sheet, the dough can push upward. That creates a thicker, airier crust with a soft interior and a crisp shell. If you like the style of pizza served in old-school pizzerias and neighborhood red-sauce joints, not deep dish exactly, but hearty and browned at the edges, this is the lane.
For Cheese Pizza, cast iron is particularly useful because cheese highlights texture more than heavily topped pies do. If the crust is pale, you notice. If the center is wet, you notice. If the top is under-seasoned, you notice that too. The pan helps solve the crust problem, leaving you free to focus on proportion and flavor.
The dough matters more than people think
A lot of recipes frame pan pizza as a shortcut, and it can be, but the best results still come from decent dough. You do not need a three-day cold fermentation, though that can be excellent. You do need dough with enough hydration to expand in the oven and enough gluten development to trap gas. A dough that is too stiff bakes up dense. One that is too slack can be hard to stretch in the pan and may bake gummy if the oven is not hot enough.
For a 10 to 12 inch cast iron skillet, I like a dough ball in the range of 250 to 340 grams, depending on how thick I want the pizza. Toward the lower end, you get something closer to a medium-thickness pie with a distinct crisp base. Toward the higher end, the pizza turns plush and bready, which can be wonderful if you want that focaccia-like edge. Both are valid. The important thing is matching the dough amount to the pan size and your expectations.
If you are making dough from scratch, use bread flour if you have it, all-purpose if you do not. Bread flour gives a slightly chewier bite and often a better rise, but many excellent home pizzas are made with standard flour. Aim for a dough that feels soft and elastic, not dry. Olive oil in the dough is optional. A small amount, around 1 to 2 percent of flour weight, can make stretching easier and add tenderness, but too much can mute the crispness.
Yeast timing depends on your schedule. A same-day dough can work if you let it double and then rest long enough to relax before shaping. An overnight cold rise improves flavor and handling. If I am planning a weekend cheese pizza dinner, I often mix the dough the night before, refrigerate it, and take it out one to two hours before baking. That gives the dough time to lose its chill and spread naturally in the pan.
Sauce should support the cheese, not flood the crust
Cheese pizza asks for discipline with sauce. The biggest mistake I see in home kitchens is treating pizza sauce like pasta sauce. They are not the same. Pasta sauce is often simmered longer, seasoned more aggressively, and used generously because it will be diluted across a plate of noodles. Pizza sauce sits directly under the cheese, where too much moisture can sabotage the bake.
A simple sauce works best. Crushed tomatoes or hand-crushed canned whole tomatoes, a pinch of salt, maybe a little olive oil, and a restrained amount of dried oregano or grated garlic if you like it. Some cooks add a touch of sugar, especially if the tomatoes are sharp. That is a judgment call, not a requirement. What matters is consistency. You want a sauce that spreads thinly without running. If it looks watery in the bowl, drain it briefly or simmer it just enough to tighten.
For a 10 to 12 inch pan pizza, a modest layer is plenty. Usually 1/4 to 1/3 cup does the job. You should be able to see the dough faintly through the sauce in some spots before the cheese goes on. That may sound stingy, but once it bakes under melted mozzarella, it reads properly. Over-saucing is the fastest route to a soggy center.
Choosing the cheese for the best melt and flavor
Mozzarella is the anchor of Cheese Pizza, but not all mozzarella behaves the same way. Fresh mozzarella contains a lot of moisture and can puddle unless you drain it well and use it sparingly. Low-moisture mozzarella, especially whole milk, is usually the better choice for a cast iron pan pizza because it melts evenly, browns attractively, and does not dump water into the crust.
Part-skim mozzarella is perfectly serviceable and common in pizzerias, but whole milk mozzarella has a richer melt and a more satisfying stretch. If you can, grate it yourself. Pre-shredded cheese often contains anti-caking agents that slightly dull the melt and mouthfeel. It is not disastrous, just less ideal.
You can also blend cheeses, but keep the pizza rooted in mozzarella. A little provolone adds tang and color. A dusting of Parmesan or pecorino on top adds savory depth. What you want to avoid is making the top heavy, oily, or overly salty. Cheese pizza is at its Cheese Pizza best when the dairy tastes clean and balanced. The top should blister in spots, not slide off in a molten sheet.
The pan itself, and how to prepare it
Any well-seasoned 10 to 12 inch cast iron skillet can produce great pizza. The pan does not need to be heirloom quality, but it should be in good shape. If the seasoning is patchy or the surface rusts, fix that before pizza night. A neglected pan tends to grab onto dough in unpredictable ways.
Oil matters here. A thin but real layer of olive oil in the pan does two jobs at once. It prevents sticking and helps create that crisp, almost fried outer crust that makes cast iron pizza special. Do not drown the dough, but do not be timid either. A tablespoon is a reasonable starting point for a 10 inch pan, a bit more for a larger skillet.
Some cooks preheat the empty oiled pan, then stretch in the dough carefully. Others build the pizza in a room-temperature pan and let the dough proof there before baking. Both methods work. If you want a thicker, airier result, building in a room-temperature pan and letting the dough rest in it for 20 to 45 minutes is very effective. If you want a firmer, crisp-bottomed pizza with a little less rise, starting with a hot pan can help, though it is less convenient and harder for beginners.
My own preference for Cheese Pizza is a warm but not ripping-hot approach: preheat the oven thoroughly, oil the pan, press in the dough, let it relax and puff slightly, then top and bake. That gives a good balance of tenderness and crunch.
A practical method that works
You do not need a complicated sequence, but order matters. The dough should be relaxed, the oven should be fully hot, and the toppings should be ready before you start assembling.
-
Heat your oven thoroughly, ideally to 475 to 500 degrees Fahrenheit, with a rack in the lower third. Oil the cast iron pan, then press the dough into the skillet, dimpling and stretching it toward the edges. If it springs back, wait 10 minutes and continue gently rather than forcing it.
-
Let the dough rest in the pan until it looks slightly puffy, usually 20 to 45 minutes depending on room temperature and how active the dough is. Spread a thin layer of sauce over the surface, leaving a little breathing room near the rim, then add shredded low-moisture mozzarella evenly across the top.
-
Bake until the cheese is melted and starting to brown and the crust edge looks deeply golden, usually 12 to 18 minutes depending on pan size, dough thickness, and oven behavior. If the top is pale but the bottom is nearly done, move the pan higher for the final couple of minutes.
-
Check the underside with a spatula or offset turner. If it needs more color, place the skillet on the stovetop over medium heat for 1 to 3 minutes to crisp the bottom. This trick is especially useful in ovens that brown the top faster than they set the crust.
-
Rest the pizza for a few minutes before loosening it from the pan and slicing. A brief rest helps the cheese settle and keeps the top from sliding. Finish with grated Parmesan, a pinch of oregano, or nothing at all if the balance is already right.
That stovetop finish is one of the most useful cast iron habits to learn. Restaurant ovens tend to blast a pizza from all directions. Home ovens often do not. A minute or two on the burner can rescue a good pizza from having a blond underside.
What the dough should feel like in the pan
This is the part most recipes skip, and it is where experience helps. When you press dough into a cast iron skillet, it should resist a little but not fight you. If it tears, it is either too cold, too dry, or under-rested. If it slumps instantly and feels sticky enough to glue itself to your fingers, it may be over-proofed or too wet for the flour you used.
A properly rested dough leaves shallow dimples when pressed. It spreads to the edge with a few nudges, then slowly pulls back. That is normal. I usually stretch it most of the way, let it sit, then finish the last half inch after a short rest. Once it is in the pan and lightly proofed, the surface should look alive, not flat. Tiny bubbles under the skin are a good sign.
One subtle but important point: do not compress the rim too aggressively. Press the center and middle zones more firmly than the border, and the edge will rise into a more attractive crust. On a cheese pizza, that rim is where much of the visual appeal comes from.
Getting the bottom crisp without burning the top
Heat management is the entire game with cast iron pizza. The cheese needs enough time to melt and spot-brown, the sauce must warm through, and the crust should crisp before the top overcolors. The lower-third oven rack helps because it favors bottom heat. So does giving the oven more preheat time than you think you need. Even if the indicator says the oven is ready, another 20 to 30 minutes often improves performance.
If your oven runs hot from above, tenting is unnecessary and usually counterproductive. Instead, lower the rack further or reduce the amount of cheese slightly so it browns at a calmer pace. If your oven struggles with bottom browning, that stovetop finish I mentioned earlier is not a workaround to hide failure, it is a legitimate technique. Many strong home bakers use it routinely.
The sound can tell you a lot. When you lift the pizza and tap the underside lightly with a utensil, a crisp crust gives a dry, hollow note. A pale or damp crust sounds muted. After a while, you will recognize that difference immediately.
Common problems, and how to correct them
Most cast iron pizza issues are fixable once you know what you are looking at.
- If the center is soggy, the usual culprits are too much sauce, fresh mozzarella with excess moisture, or dough that was stretched too thick in the middle.
- If the pizza sticks, the pan likely needed more oil, the seasoning was weak, or the pizza was cut before it had a brief chance to rest and release.
- If the crust is dense, the dough may have been under-proofed, too cold, or made with too little water.
- If the cheese turns oily, you probably used too much of it, baked too long, or combined several rich cheeses without enough restraint.
- If the top browns before the bottom crisps, lower the rack next time or finish the skillet on the stovetop for a minute or two.
These are ordinary adjustments, not signs that the method is flawed. Cast iron pizza improves quickly with repetition because the feedback is so visible. You can see the bottom, feel the dough, and make corrections on the fly.
Small upgrades that make a big difference
A dusting of finely grated Parmesan after baking adds sharpness that mozzarella alone lacks. A little dried oregano rubbed between your fingers wakes up the aroma. If you like garlic, a light brush of garlic oil on the rim as soon as the pizza comes out of the oven makes the crust smell like a pizzeria in the best possible way.
You can also play with layering. Some cooks put a light base layer of mozzarella, then sauce, then more cheese. That protects the dough from moisture and creates a softer, more enclosed sauce layer. I use that approach occasionally when the sauce is especially loose or when I want a more insulated center. For a classic Cheese Pizza, though, sauce first and cheese on top usually gives the cleanest look and flavor.
Cornmeal under the dough is not necessary in cast iron. Flour is usually enough for handling, and the pan itself provides the release. Cornmeal can add crunch, but it often burns in a skillet and contributes a sandy texture that many people mistake for authenticity. I skip it.
Timing the meal so it feels easy
The easiest way to make pan pizza at home is to break the work into stages. Mix the dough ahead of time. Shred the cheese and make the sauce earlier in the day. Leave the dough on the counter while the oven heats. Once the pan is oiled and the dough is pressed in, the rest moves quickly.
There is also a psychological advantage to cast iron pizza that matters on a busy evening. It does not require the tension of launching dough off a peel or worrying whether the pizza will weld itself to parchment halfway through the transfer. The skillet contains the process. That makes it especially useful if you are cooking for family or guests and want strong results without turning dinner into a performance.
I have served this style of pizza to people who insist they only like thin crust and watched them reach for a second slice. What converts them is not thickness alone. It is contrast. The edge is crisp and bronzed, the center stays tender, and the cheese settles into the sauce instead of sitting like a separate blanket on top. When it is done well, it eats lighter than it looks.
Serving and slicing
Let the pizza rest for three to five minutes after baking. That short pause does more than protect your mouth. It allows steam to calm, the cheese to set slightly, and the crust to firm. Run a thin spatula around the edge and underneath before lifting the whole pizza onto a board if you brooklynpizzaboulder.com Cheese Pizza prefer cleaner slicing. You can also slice directly in the pan if you trust your utensils and care less about preserving the seasoning cosmetically.
A chef's knife works surprisingly well for pan pizza, though a wheel cutter is faster. If the cheese drags, the pizza needed another minute of rest. If the bottom is deeply browned and the slices hold shape, you nailed the structure.
Cheese pizza does not need much on the side. A green salad with sharp vinaigrette is enough. So is a cold drink and the willingness to eat a second slice standing at the counter while the first plate is still warm.
The version worth repeating
There are flashier pizzas to make at home, but cheese pizza in a cast iron pan teaches the fundamentals better than almost any other style. It exposes your dough, your heat management, your restraint with sauce, and your judgment with cheese. That sounds severe, but it is actually freeing. Once you can make a reliable Cheese Pizza this way, every other variation becomes easier.
Use enough oil to encourage browning. Keep the sauce thin and measured. Choose mozzarella that melts well. Bake hot, then use the stovetop if the bottom needs help. Most of all, pay attention to what the dough and crust are telling you. Cast iron pizza rewards that kind of cooking. It is tactile, direct, and generous, and when you get it right, the result feels far bigger than the effort required.
Brooklyn Pizza
1647 Arapahoe Ave
Boulder, CO 80302
+1 720-328-2324
FAQ About Cheese Pizza
What type of cheese is used on a cheese pizza in Boulder, CO?
The cheese varies by pizzeria. Brooklyn Pizza uses whole-milk mozzarella made in-house on its standard pies and offers a plant-based cheese option for vegan pizza. Ask the shop directly about ingredients if you have a dietary restriction.
How many slices are in a large pizza in Boulder, CO?
Slice count depends on how the shop cuts the pie. Brooklyn Pizza lists a 16-inch large pizza. If you are ordering for a group, call to confirm the number of slices or ask whether a smaller cut is available.
What is New York style pizza in Boulder, CO?
New York-style pizza usually has a thin crust and wide slices that can be folded. A classic cheese slice pairs tomato sauce with mozzarella. Brooklyn Pizza serves New York-style pizza by the slice and as whole pies.